The recent launch of the M4 Mac mini has certainly made waves. Its impressive performance, compact size, and unbeatable pricing, especially at under $550 on Amazon, make it hard to ignore. The new design has sparked interest in using the Mac mini as a portable computing option. This leads us to an exciting possibility: can the iPad serve as a mobile display for a Mac mini? The answer is affirmative, and there are two effective methods to achieve this!
In the video below, I dive deeper into these two techniques. I highly recommend watching for a comprehensive step-by-step guide for each method!
Method 1: iPad as a dummy display
You might recall a previous discussion about utilizing your iPad as a dummy display for gaming consoles. We’re adapting that concept for the Mac mini, and it performs wonderfully.
Requirements:
Setup Instructions
Once you have gathered everything, the subsequent steps are straightforward.
- Launch the Orion App
- Connect your HDMI cable to the HDMI capture card
- Attach the USB-C end of the capture card to the iPad
- Power on the Mac mini
- Your iPad now serves as a portable HDMI display for the Mac mini!
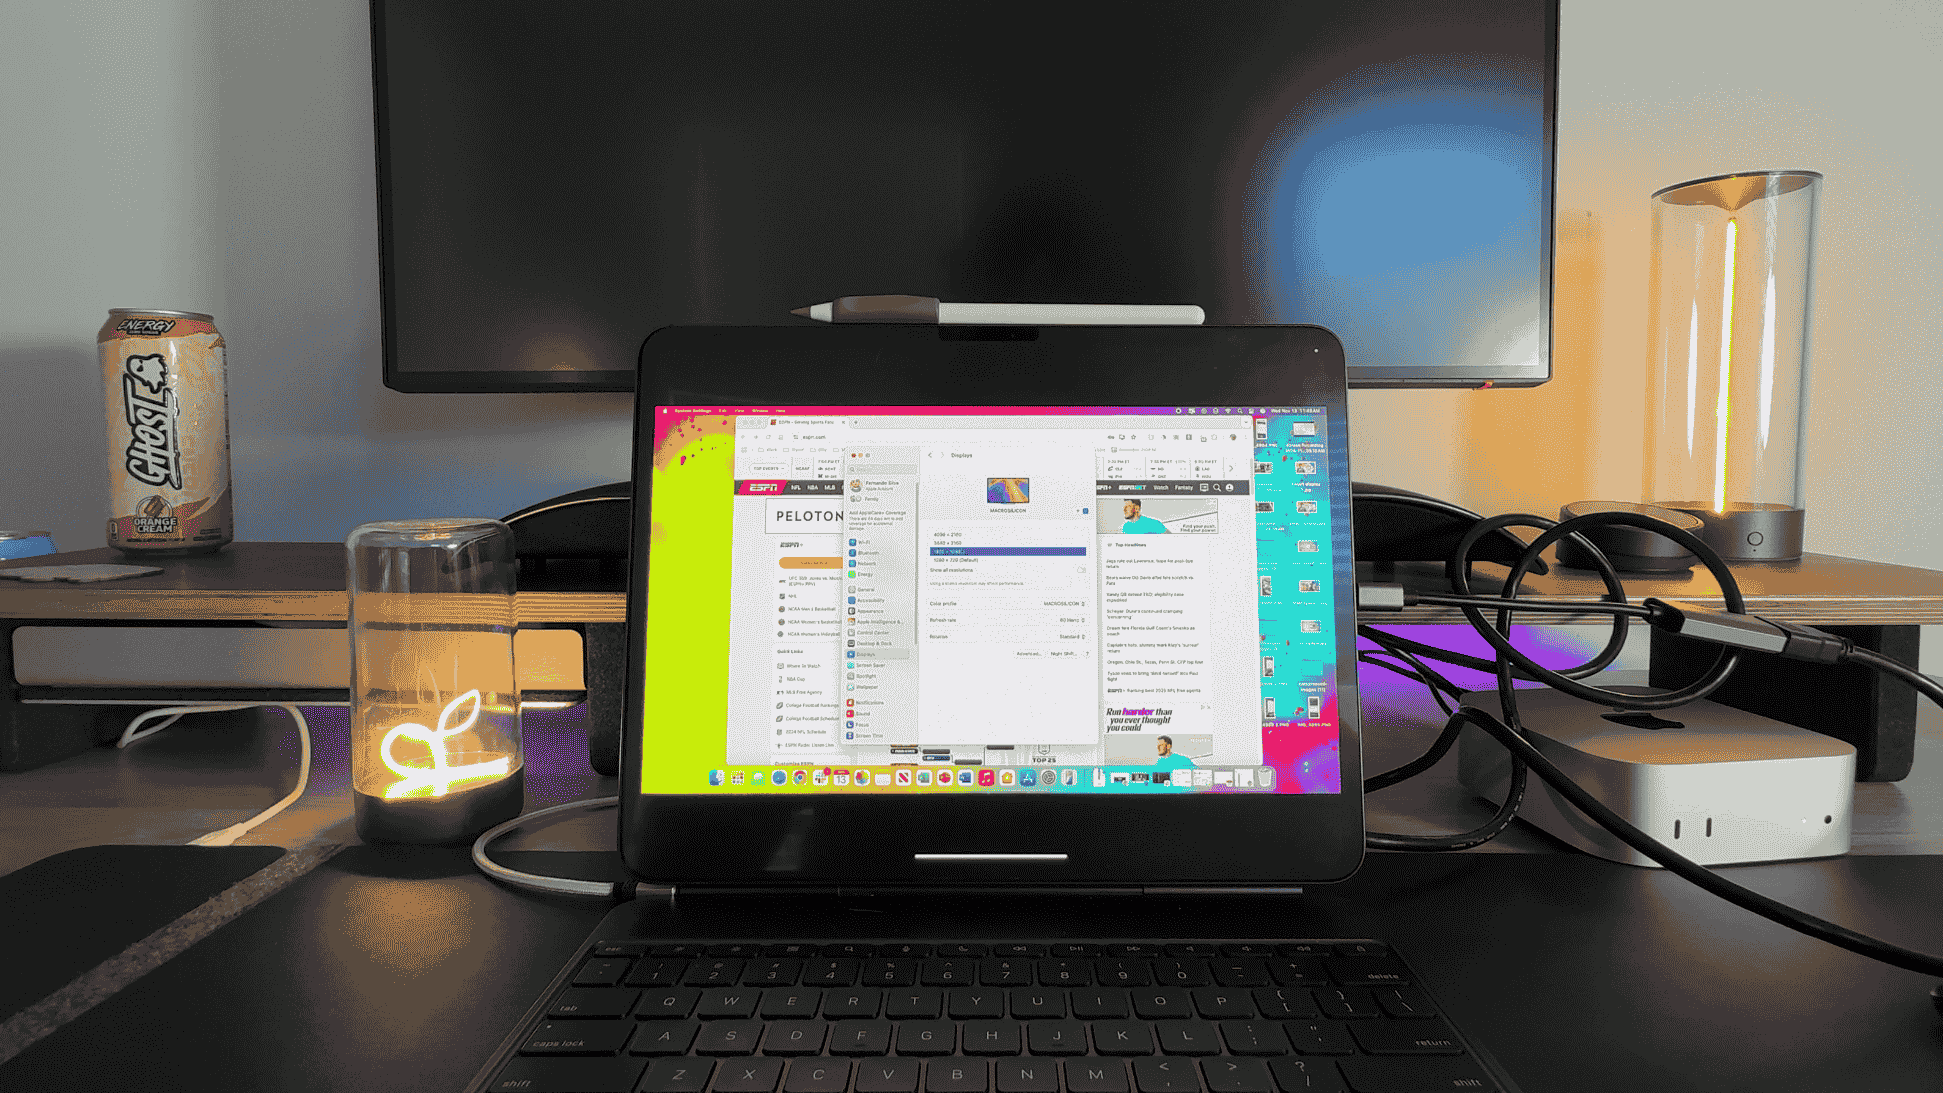
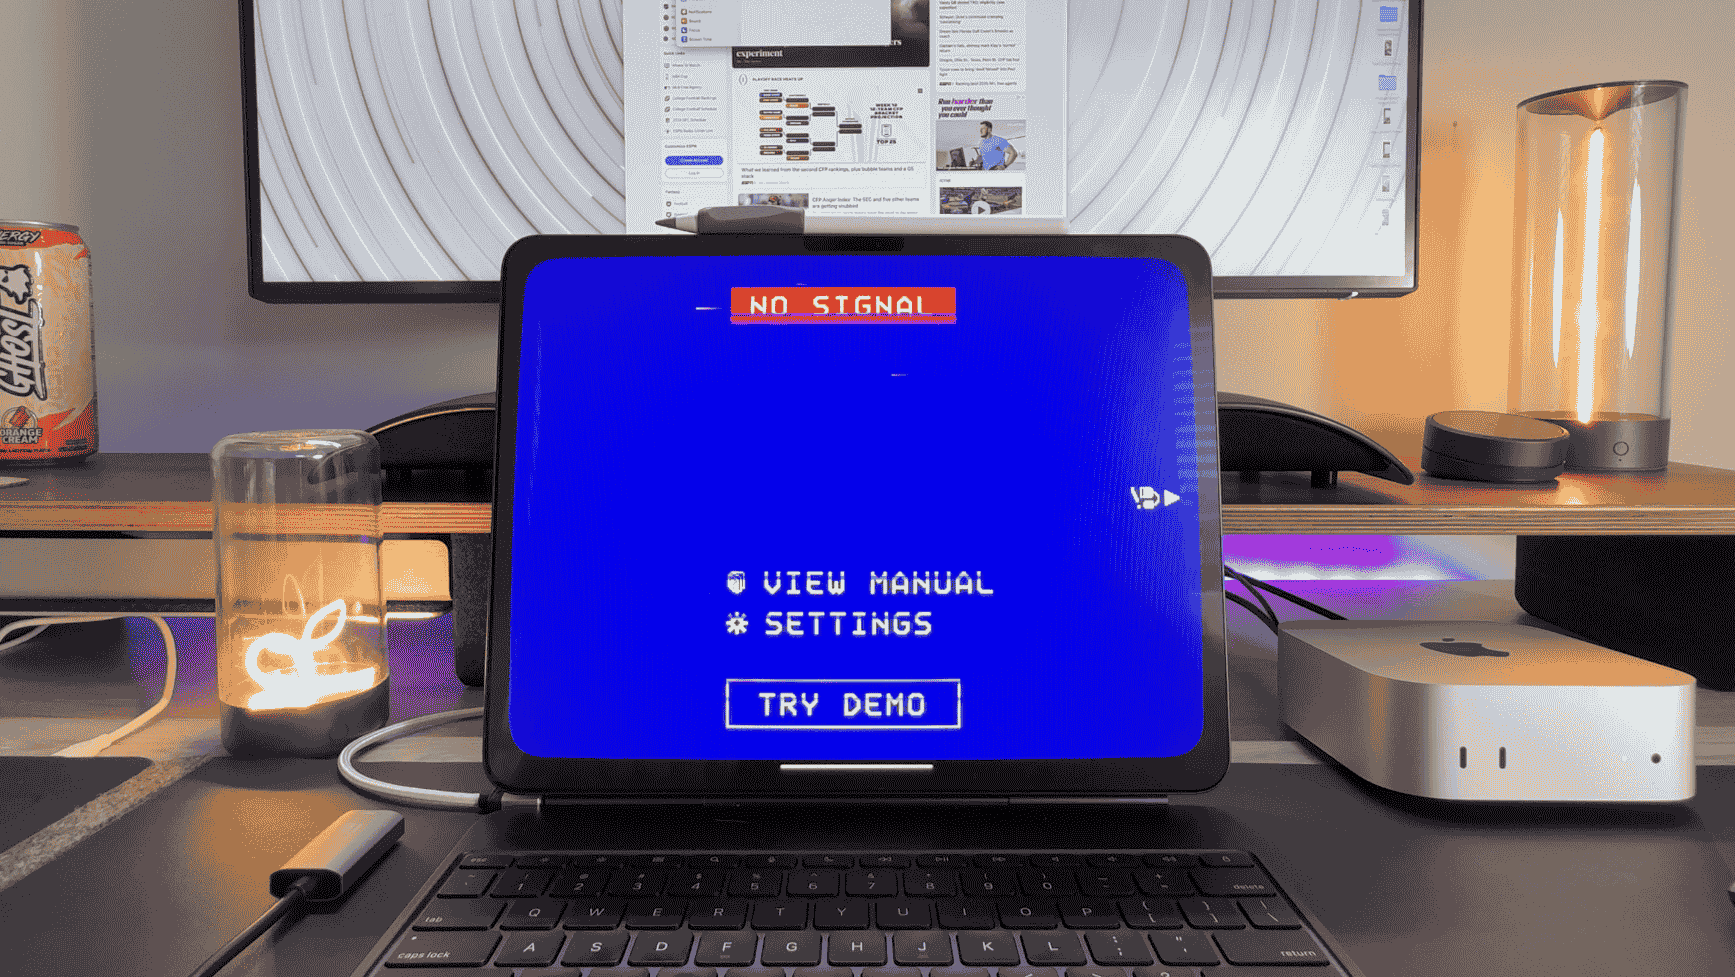
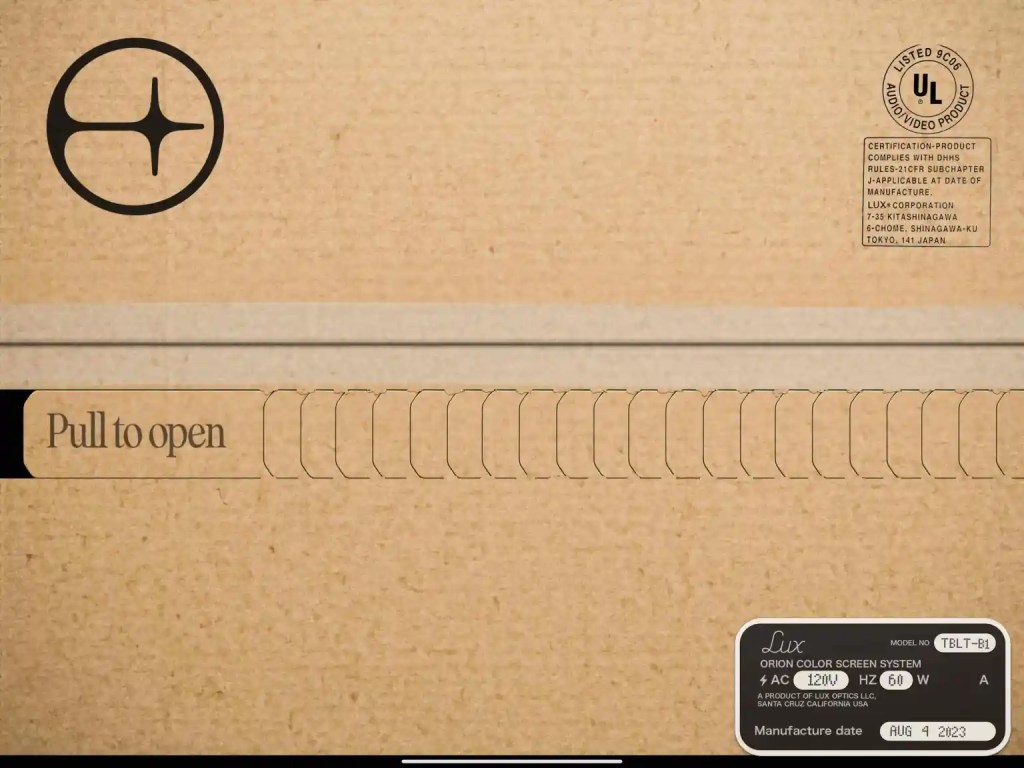
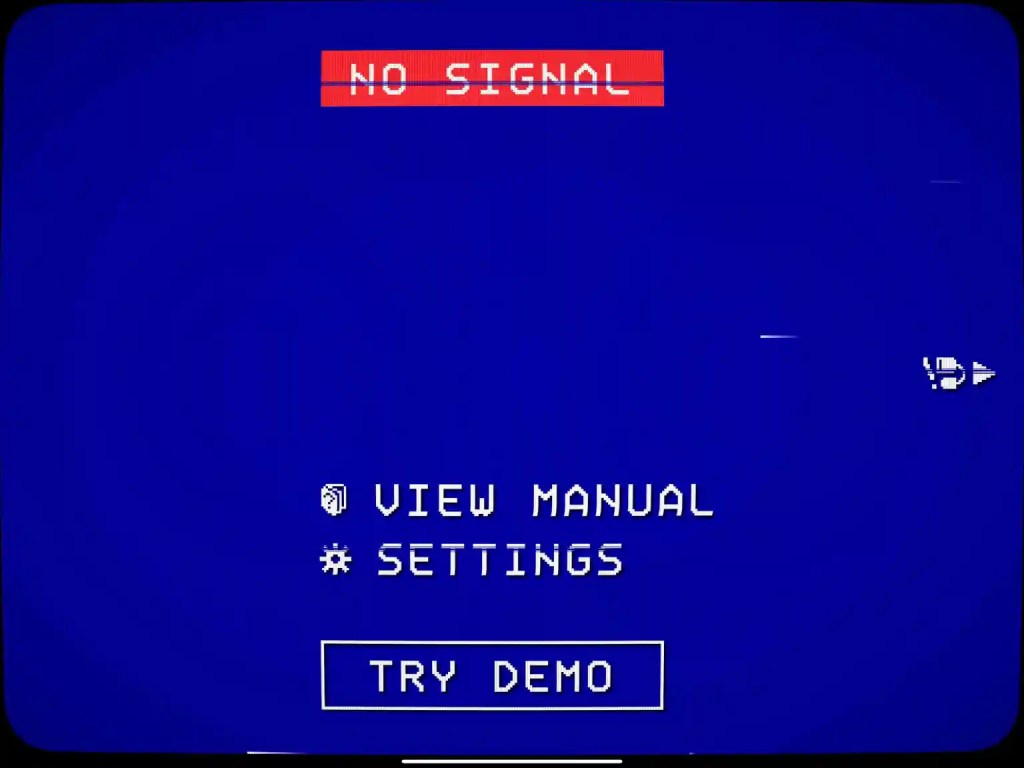
The Orion app and the HDMI capture card are essential components for this setup. The app boasts a sleek design with a nostalgic flair! The free version meets all basic needs, supporting 1080p resolution, delivering excellent sound through the iPad speakers, and even offering some enjoyable CRT filters. The capture card presents an affordable and dependable solution for seamless connectivity!
Method 2: Continuity
This method is the simplest option, but it requires the Mac mini to be pre-set. This is a fantastic way to visualize the MacOS experience on your iPad, hence its inclusion here.
Requirements:
- A Mac running the latest version of MacOS
- An iPad with the latest iPadOS
- Both devices signed into the same iCloud account
- Both devices connected to the same Wi-Fi network
- Both devices should be within approximately 30 feet of each other for optimal performance
In my case, I employed the M4 Mac mini alongside the M4 iPad Pro, both updated to the latest operating systems. Once all prerequisites are set, the process is effortlessly simple.
- Ensure both devices are powered on
- Access system settings
- Select Displays
- Click on the “+” icon
- Under “mirror or extend to”, select your iPad
- Your iPad is now configured as the main, extended, or mirrored display!


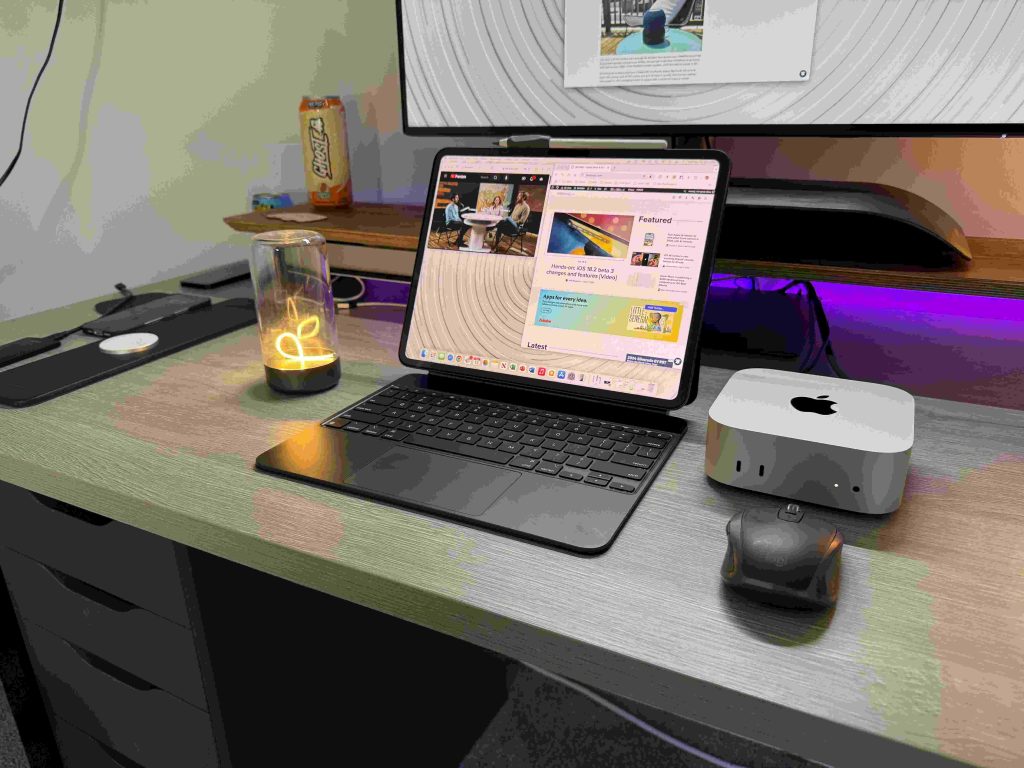
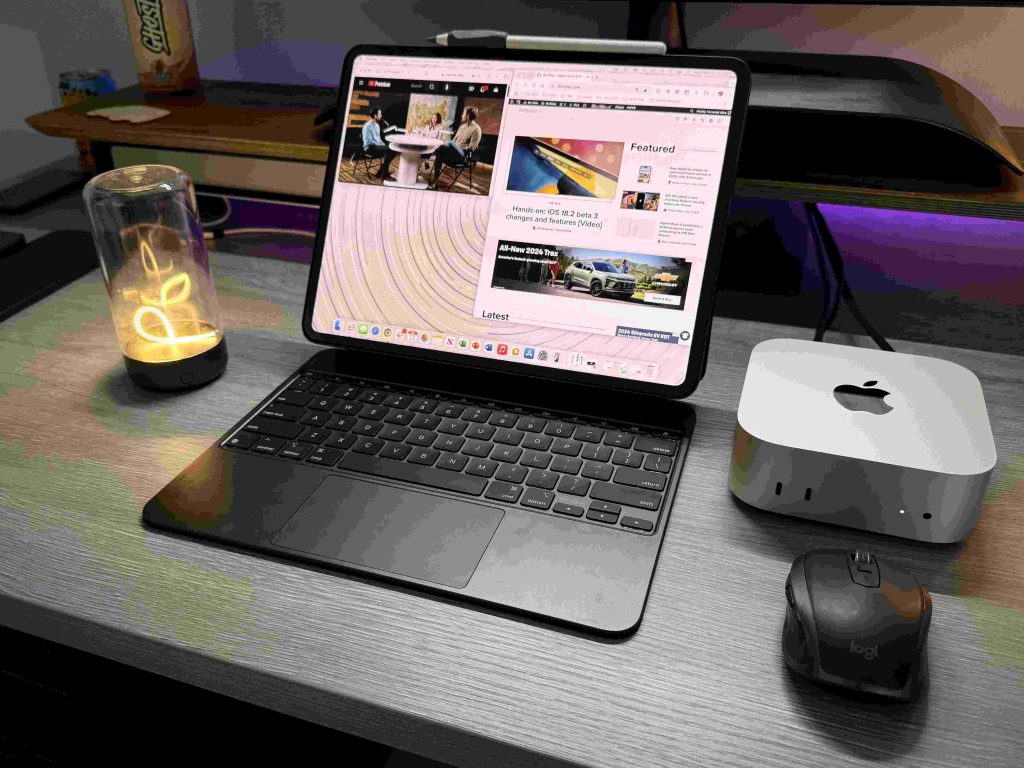
This setup provides a fantastic way for individuals wanting to make their iPad the centerpiece of their MacOS workspace. The experience is smooth with minimal latency, offering a great sense of how MacOS operates on the iPad Pro. Notably, touch interaction functions similarly to mouse input. If you connect an iPad Magic Keyboard, the keyboard feature works seamlessly; however, the trackpad function is not compatible.
However, as mentioned previously, an actual display is required to set everything up initially. The most effective way to use your iPad as a dedicated mobile display remains the first method!
Final Thoughts
Investing $20 in a capture card to utilize your iPad as a display for your Mac mini is a wise decision in my opinion. This opens up a world of opportunities for travel, whether during road trips or vacations, and offers flexibility at coffee shops or coworking spaces. This is just one of the many reasons why iPads are considered some of the most versatile computers available.
What are your thoughts? Is this something you would consider trying? Let’s explore this topic in the comments below!
: . More.


